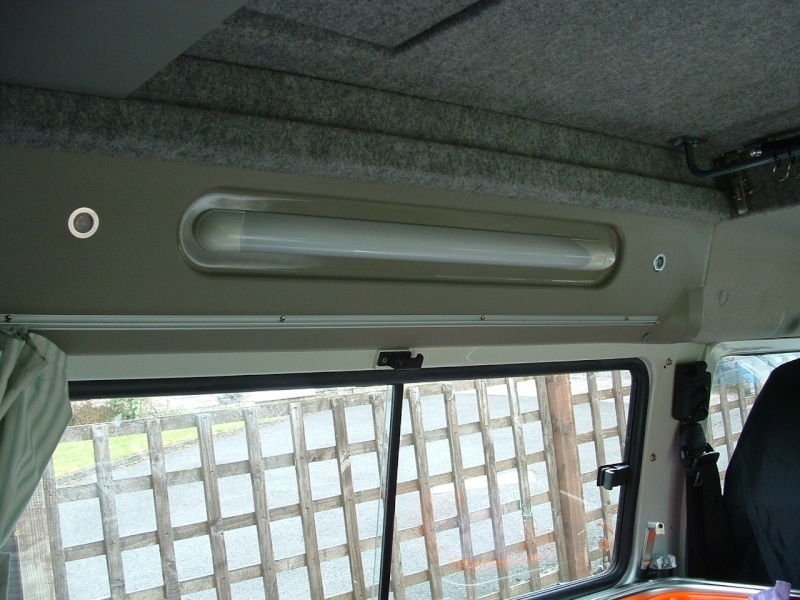
Tim has asked me to do a few words about fitting the LED internal lights in Absinthe. In reality, Dennis (Tim) should be credited as the expert -it was his blue lights that Alison and I saw at the 2013 Sleepover and his advice on fitting that finally got me to finish the job.
What you'll need:
A set of lights - Tim pointed me towards these:


Two switches - I used these: Green Illuminated Switch
Most importantly one of these (or something similar): Cable Access Kit
Philips screwdriver
A 22mm hole cutter for the lights
I used a 19mm hole cutter for the illuminate switches
Some spare wire, soldering/crimping equipment, a knife.
The first job is to mark out the position you want each light - I used four from the pack of 10, on each side. Tim put two on the back panel as well but I decided not to have any there.
Here are some pics of Tim's that he sent me to assist in positioning:


I drilled a small pilot hole for each one and one each for the two switches. Then, using the hole cutter, cut the 22mm holes (be brave - I was quite nervous about this bit but after the first one, and doing the cuts carefully, I was happy to do the others - I did a test cut on the box for the lights to make sure the lights and switches would fit).
The lights all fasten together with male and female connectors and I think that Tim removed them to bring all the wires back to the rear. I found that I could use the existing fittings on all the lights except the front ones where the run was slightly too long. I extended the wires, but kept the connectors.
The fiddly bit is pulling the wire from one light back to the next hole. Until I bought the cable access kit I was really struggling but once I had the rods it was relatively straightforward. On the first set I removed the fluorescent fitting (the trick to getting the cover off is to press quite firmly until it pops off - I was worried that the plastic would crack but I got them off with no issues) - Tim suggested that I cut a hole behind the light to get access to the wires which I did on the first set. Once the wires were in place behind the plastic panel, I put the fluorescent fitting back on and you couldn't see the "spare" hole I'd cut.
Working backwards towards the existing spot lamps was quite straightforward although there is some foam insulation near the spot lamps which makes getting the wires through, and the LED light in, tricky - I cut a little of the foam away to make life easier. I took the spot lamp housing off which gave decent access at the back - I actually took the speaker out as well on the first side but found I managed without on the second side once I knew what I was doing.
Once all 4 LEDs were in I needed to wire them into the original Danbury wiring which powered the spot lamps. This was when Tim got regular texts and phone conversations to make sure I was doing everything right. If you're at all practical and know your way around basic electrics you'll be fine. I'm not, hence the assistance needed!
This is where you need some spare wire to connect to the switch. Amazingly, once I'd wired them up they actually worked first time. Result!
Fitting the second set was a piece of cake once I knew what I was doing. Fitting the lights for the first set took me 3 hours from marking out to fitting, plus another couple of hours to connect up. I did everything on the second set in 2 hours from start to finish, without having to take the fluorescent fitting off, and I didn't need to remove the speaker either. Extending the wiring on the second light to meet the first one at the front before fitting made life much easier and I'd got the hang of the best technique with the rods by then too.
If you've got any queries - I'll try and answer them but all, in all, I'm really pleased with the effect. I'll post some more pics when it's dark to show how they look.

