Several kombi owners have experienced issues with their roof struts, especially ones that are used more often like those that are hired out.
Tallulah is no exception although with some care it was only recently that one of our struts 'popped off' while putting down the roof.
Fortunately for us, it happened while demonstrating the roof up/down action to a customer who then agreed not to raise the roof during their hire - we gave them a slight discount as a consequence and they only had it for a long weekend with no children to accommodate 'upstairs'.
Again fortunately for us, we were due to be at the BraziBay Halloween meet the following weekend so arrived with various tools and resources in order to reattach the uncooperative strut and sought the help of fellow BraziBay owners with more specific experience - namely, TimV and Daz - once again thanks guys!
The issues are two-fold:
- Over time, the motion of the struts back and forth (rather than straight up and down or side to side as designed) puts pressure on the pins that hold the ball joints in place and they eventually bend.
- The ball joints themselves may also begin to fail over time, especially the small holes for the pin, either because of the same lateral movement or due to poor quality initially.
Pic of a new (good) and old (bad) ball joint end from Tallulah:

The hole where the pin locates in the lower of the two above has eroded over time, to the extent that it wasn't holding the pin in place at all, hence the 'popped strut'. The other (upper) is as it should be.
The answer therefore, short of redesigning the complete roof raising arrangements, is to monitor the strut ends to ensure they are always seated correctly by giving them a firm push back against their fixings, are in good physical condition including the pins, and to minimise the front to back motion on raising and lowering the roof to reduce the risk of bent pins and 'popped' struts.
Even with this care and attention, you might find that the ball joints do need to be replaced, this is exactly what I have now done in Tallulah, and here is a photo guide for doing so.
This guide assumes that all struts are in place and working correctly to start with, so the first thing to do is to carefully raise the roof. If you have a suspect strut that you think might pop while raising the roof, then check that the ball joint is correctly seated (firm push as explained above) and ask someone else to apply pressure against it as the roof goes up or otherwise 'secure it' without restricting it's movement as intended - a cable tie or two might be useful for this.
Tools and parts:
Replacement ball joints incl pins -
Components Direct (GSA003-TZP)A length of timber - 2m metre baton or door stay should do -
B & Q)
At least 3 suitable wood screws - length depending on type of timber.
A screwdriver
Wood saw
Two pairs of pliers or grips
Cloth and cleaning fluid (white spirit or similar should do)
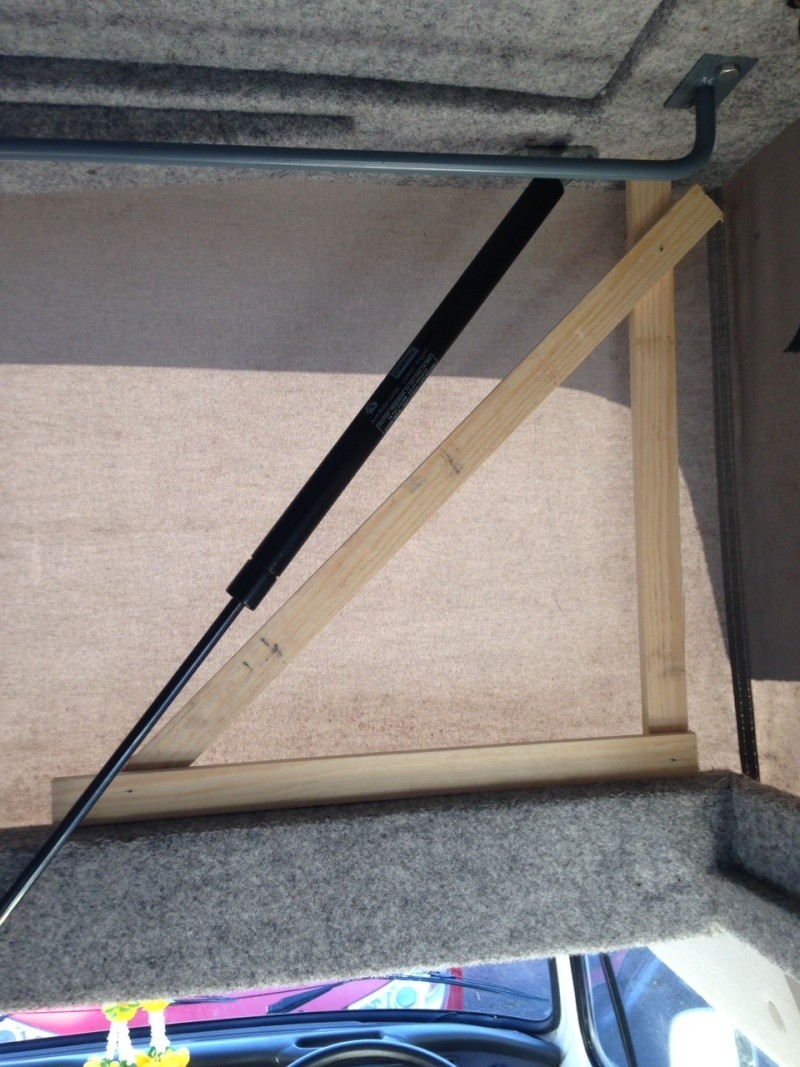
Once your roof is up, but before any struts are removed, you will need something to support the roof in place of a strut. You could use a length of timber cut to the correct length but a more stable solution is to make a simple right-angled frame. This is what I did.
First, measure the distance between the underside of the roof where the ball joint bracket is attached to the top of the bulk head and cut a length of timber the same length. NOTE: I measured the front and the back and cut the shorter of the two. The support can be 'packed' for the higher end.
Using the screws, attach a shorter piece of timber at right-angles to make a base, and a third piece to make a triangle ensuring that it doesn't extend above the first piece or below the base.
Pic of frame in place before removing any struts.

With the frame in place, the closest strut (AND ONLY THIS STRUT!) can be removed as the roof will be supported by the frame - when removed, there will probably be a slight movement of the roof to the opposite side of the van as the other strut is allowed to expand slightly.
Starting with the end attached to the bulk head, locate and remove the ball joint pin:

Then pull the ball joint apart.
Repeat at the 'roof' end, use a carefully positioned screwdriver to ease them off if needed:

The wooden support should now be holding the weight of the roof and you have the fully extended strut detached, ready to replace the ball joint(s).
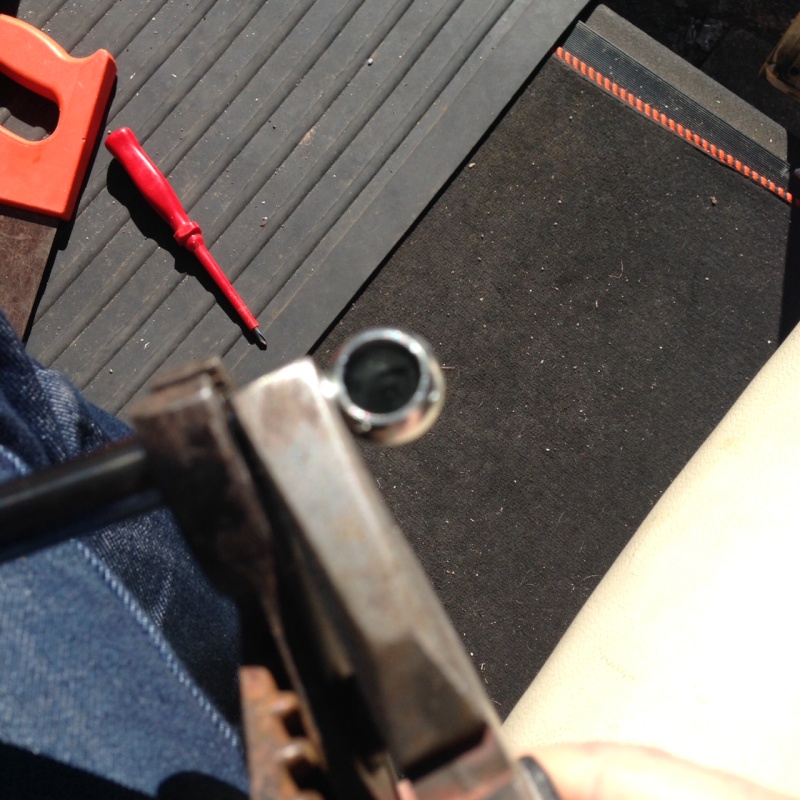
Carefully grip the ball joint at the wider end of the strut with pliers or grips and twist it anti-clockwise. It should release and enable you to remove it completely by hand.


Screw the new ball joint in place and tighten carefully with pliers or grips turning clockwise.
The process is similar for the other (thinner) end however you will need to also VERY carefully grip the shaft with a second set of grips or pliers. The shaft MUST be gripped as close to the end as possible as any damage to the shaft further down may compromise the seal of the piston allowing it to leak and fail.


Before refitting the strut, clean both ball joint connectors using a cloth and a suitable cleaning fluid and put put a small amount of grease inside the ball joint connectors you have just fitted:

Now refit the strut starting with the thinner bulk head end, locate the ball joint and firmly push into place before inserting the pin, make sure the 'roof' end of the strut is in the correct position ready for fitting next as you won't be able to rotate it fully once one end is attached:

You can now grip the fatter end of the strut, pulling it down against the bulk head ball joint, compressing the strut enough to locate and attach the roof end ball joint. This is the hardest bit, but I managed it on my own after a few attempts and some huffing/puffing. It is important that the bulk head (bottom) end is attached first as it is MUCH more difficult to push the thinner end up against the roof (which will also move against the force) enough to locate the bottom end.
Repeat the process with each of the struts, you might find (as I did) that the roof is very slightly higher at the back so I used an off cut to pack the frame:

Hope it helps!
One more thing: I bought the replacement ball joint ends from Components Direct who were good enough to send me a free sample first. The only downside is their minimum order value of £20 (ex vat and delivery). 8 x ball joint connectors is only £12 (ex vat and delivery), so I actually ordered two complete sets of the ball joints (16 in total) on the basis that someone else would like to replace theirs.
If you are interested in the remaining 8x I have the send me a pm.

