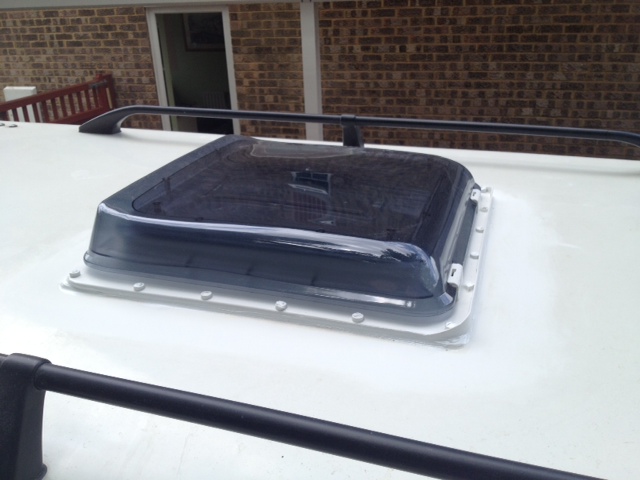
Danbury fitted a Fiamma roof vent in the early years of their new poptop. It works very well from the point of view of aerating the cabin. However over time it is prone to leaks and the UV rays tend to make the transparent cover discolour. So I chose to renew it with the latest version of the same vent - there are 2 versions - an all white one and a smoked tint one, known as the 'crystal' version, this is the one I chose.
Removal of the old vent is fairly straightforward. I suggest you pop the roof and remove the bed boards if you have them to make your workspace clearer. Then bring the roof down again so you can get to both sides of the roof vent easily.
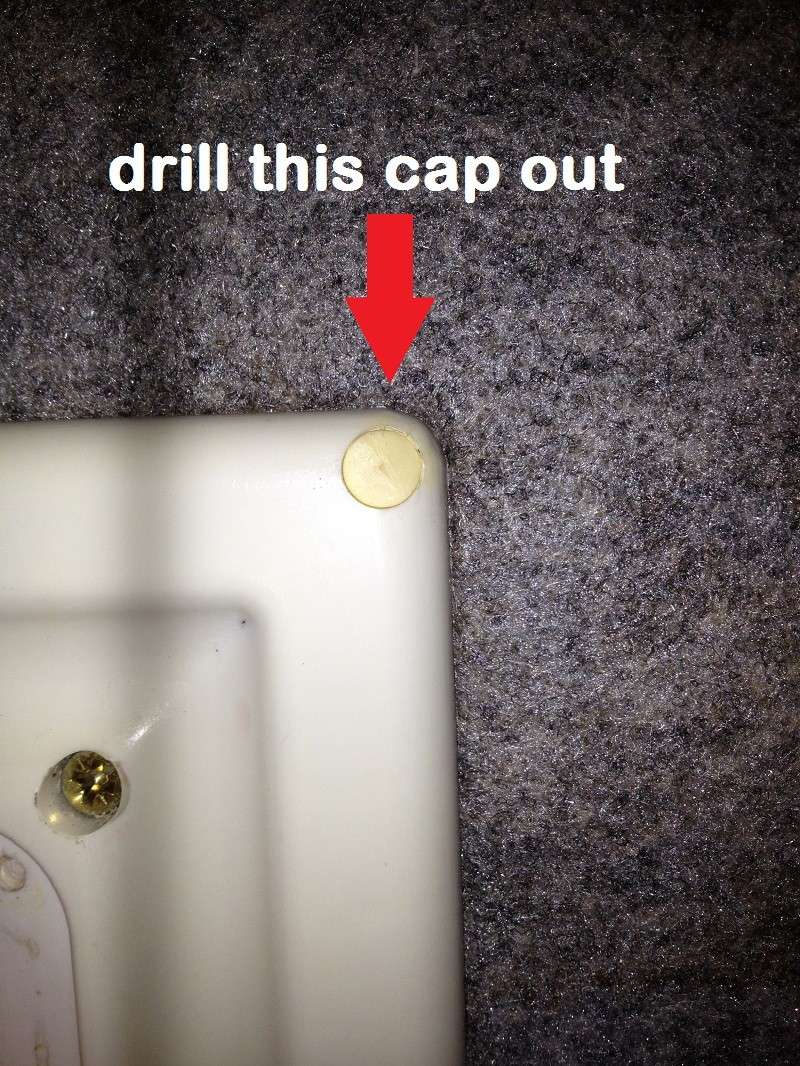
First of all you need to remove the fly screen which is held in place by 5 screws. Next you need to take out all of the screws holding the inside trim up into the roof and attached to the outer section of the vent. A number of them are covered up by little circular white blanks - the only way I could get these out was to carefully drill them out.
Then you'll need to release the handle - there's a screw behind a blank that comes out fairly easily:

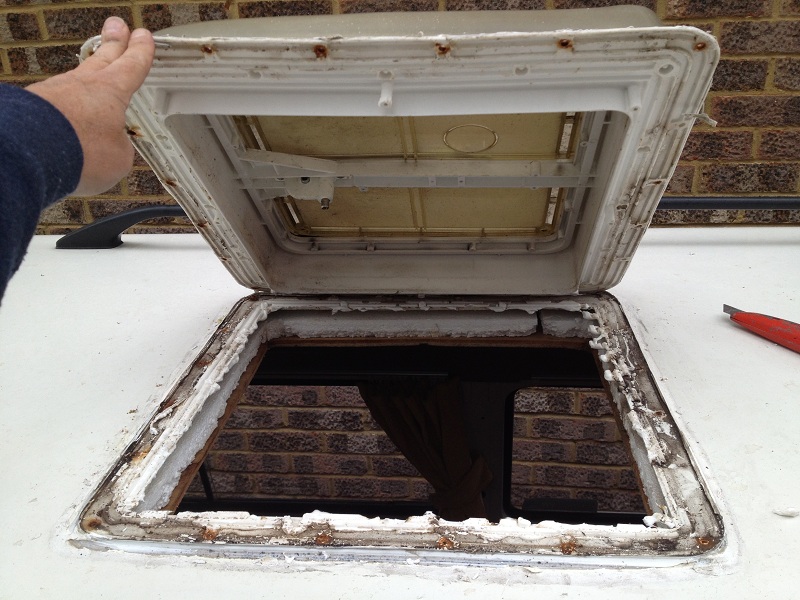
Having removed all the screws and trim from the underside, you now have the arduous task of removing the 20 upper side screws. A good number of these were difficult to remove on my particular vent as they had seized in situ - the only way I could get some of them out was to cut away the lug they resided in with a Stanley knife and use a pair of pliers to turn them. As I was ditching the old vent this wasn't an issue but if you're keeping your vent, you may need to exercise more care. You'll then be able to lift the upper side of the vent away from the poptop:
Having removed the old vent, you now need to clean up the entire area to make it good for a new coating of sealant and the new vent.

Looking at the old vent you can see which sides suffered the most water ingress by the discolouration of the screw holes: the offside and rear:

We're back after a short break! Well that turned out to be a more complex job than I had imagined. The screw holes for the new Fiamma vent were ever so slightly offset to those on the old unit. So this meant a new bunch of holes to be drilled, but unfortunately a lot of them were so close to the old ones that the drill just made bigger holes of the old. Not good.
So it was out with the Isopon P38 Glass Fibre kit and I filled nearly all the holes that were useless to me. This stuff works very well but boy is it messy. It dries very quickly so I was up sanding down the new bits of glass fibre within a couple of hours. I have one of those mouse type sanders - it's very useful for this kind of job. Here's what you get once you've smoothed down the filler:

Now it was a case of putting the new vent into the square hole and marking out the new drill holes. There are 20 screw holes on the new vent, as with the old, but because 9 of those holes were so close to the old ones and the glass fibre fill I used wasn't strong enough to use for stability, I elected to just drill 11 new holes ensuring there was an even distribution around the perimeter of the vent.
Further I added in some polystyrene blocks to raise the centre line of the poptop - to encourage any resting water to roll sideways rather than letting it sit on the roof and possibly leak into the vent hole.

Using polystyrene doesn't add to the weight of the poptop much and of course it is waterproof!
Then I had to wait for a new tube of Sikaflex 512 Adhesive/Sealant to arrive before I could move this project on ... oh and work a set of nights!
You spread sealant on both the poptop and on the underside of the new vent - make sure both areas are clean and dry. You need to put silicone in the screw holes too, so I marked up which ones I was using to remind myself which would need a screw installing:

Having screwed the vent down from above I then fitted the underside which effectively sandwiches the poptop between the 2 halves of the vent. Make sure the trim of the lower section sits inside that of the upper. I had to make use of 2 very thin kitchen knives to guide the 2 halves together.

I made use of the super long screws that had come out of the old vent to do this.
Then the final job was to Sikaflex all around the border of the new vent on the topside. I'm not the most proficient at siliconing but seeing that it's right up there out of the way it doesn't have to be art! The crucial thing is to ensure an even seal. Fingers crossed it's watertight. I'll leave it a couple of days to harden before I take the watering can to it to test.